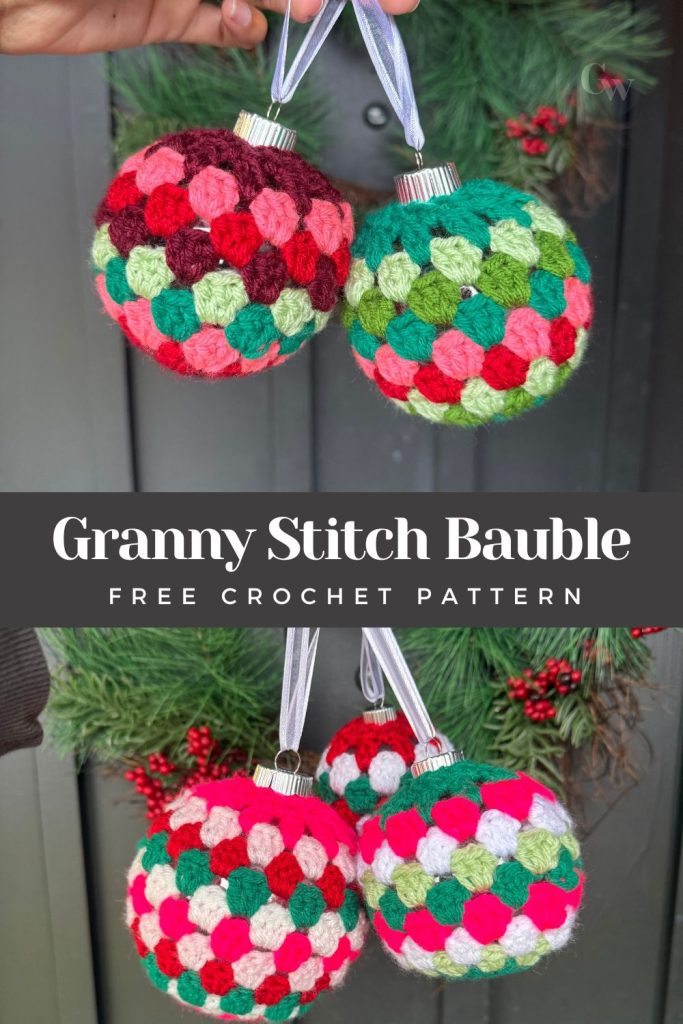
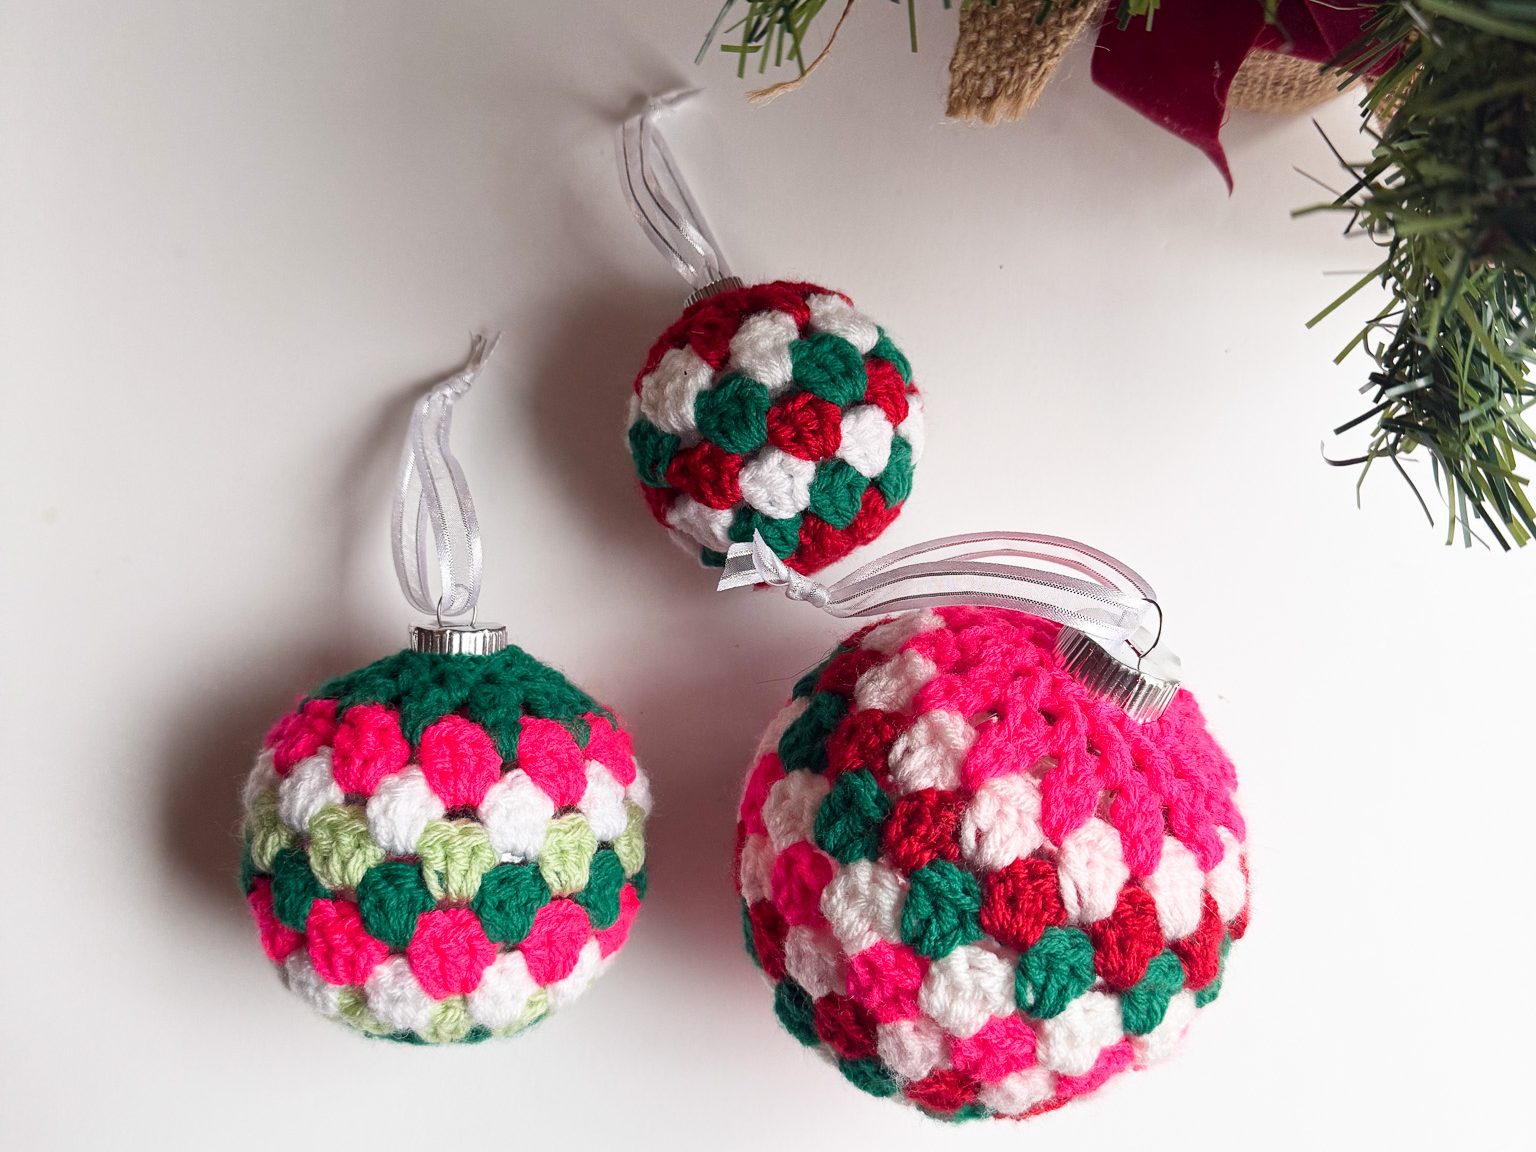
How to Crochet a Granny Stitch Ornament
Lately, I’ve been loving all things granny stitch. Sure it’s trendy right now, but there’s also something so classic about using the granny stitch in your projects. Recently I did my first in-person market around the holidays and decided to add some handmade ornaments to the mix. Since I was using a granny stitch theme throughout my market goods, I decided to come up with a way to use it on an ornament. These granny stitch ornaments are easy to make, they work up quickly, and they’re a great way to use up scrap yarn. And as an added bonus, there’s only a few ends to weave in! I think you’ll really enjoy making the Granny Stitch Ornament, so let’s get started!
Before you Begin…
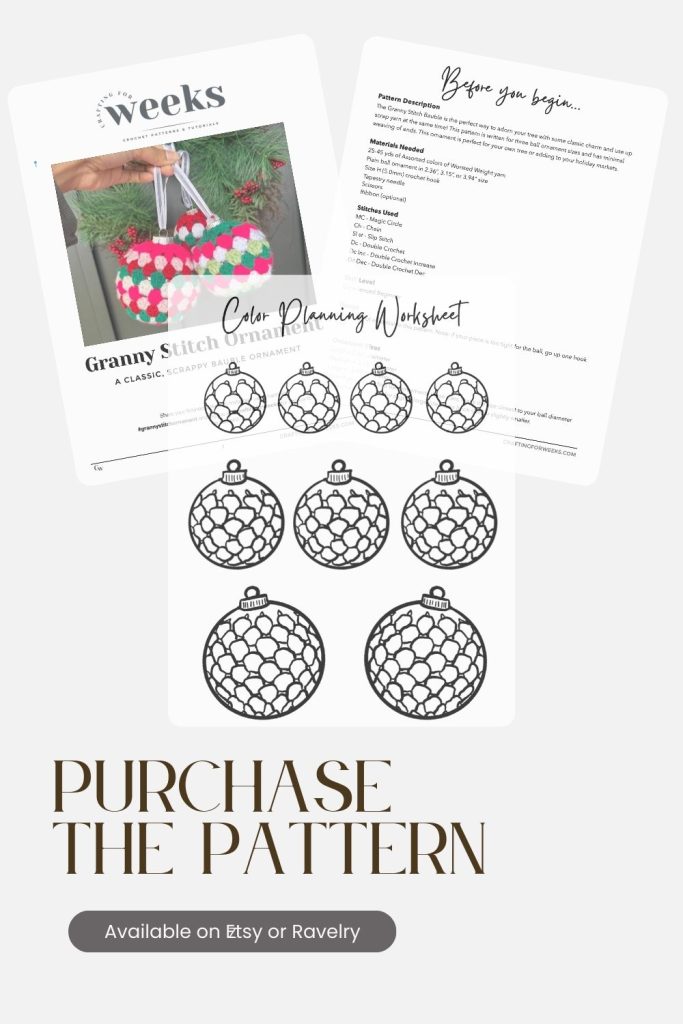
You can find the ad-free PDF version of this pattern in my Ravelry shop or my Etsy shop. For the free version, keep scrolling!
You’re going to need a 5.0mm hook size. Check out my favorite WeCrochet Dots Hooks!
You will also need a ball ornament as filler for your Granny Stitch Bauble. This pattern is written for ornaments sized approximately 2.36”, 3.15”, or 3.94” diameter. (I’ll share more info or alternatives below).
Be in the know about all the latest and greatest here at Crafting for Weeks by signing up for the newsletter below!
**This site contains affiliate links to products. I may receive a commission for purchases made through these links. This is a great way to support my small business AND get the supplies you need for your project!**
What is the Granny Stitch?
The granny stitch is created by crocheting groups of 3 double crochets in a space, followed by a small gap. This gap is sometimes created with a chain 1 to separate the groups of double crochets, but can also be done without. The next row or round of dc groups are worked in between the groups from the previous row. This stitch is traditionally crocheted in rounds with stitch increases at the corners to form squares. These square are then seamed together to make blankets or other larger items. However, the granny stitch can also be worked flat or in other shapes to use the traditional style of double crochet groups to make new and interesting designs.
For this project, we’re going to be using the granny stitch in rounds. We’ll create a round shape with our stitches to make the perfect cover for a plain ball ornament to fill.
About the Pattern
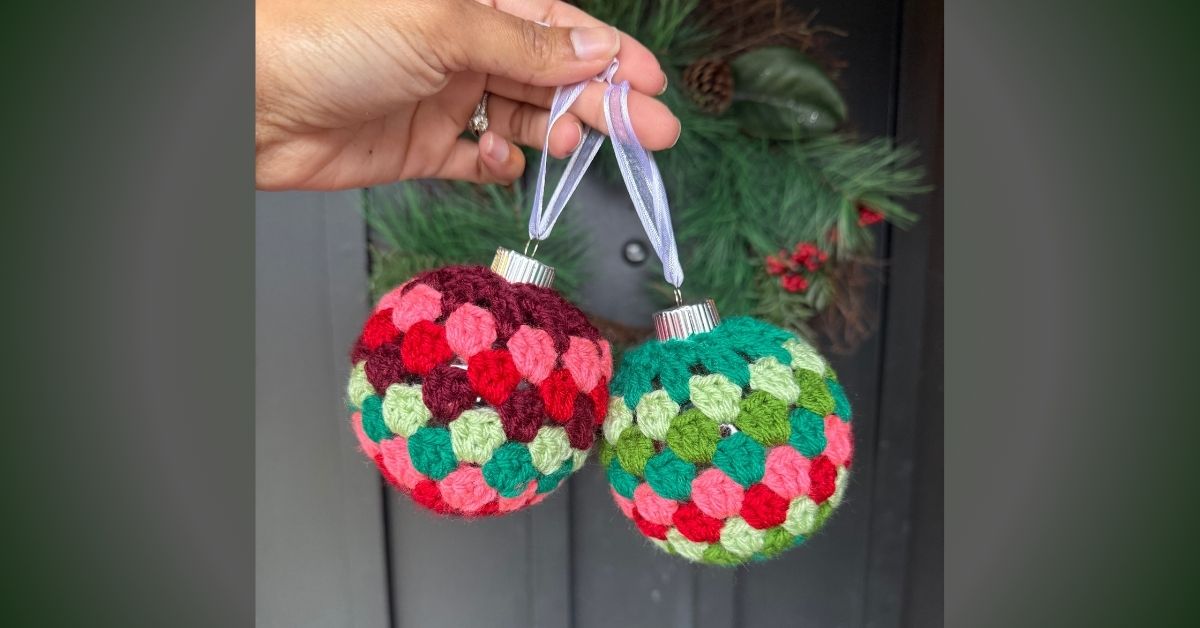
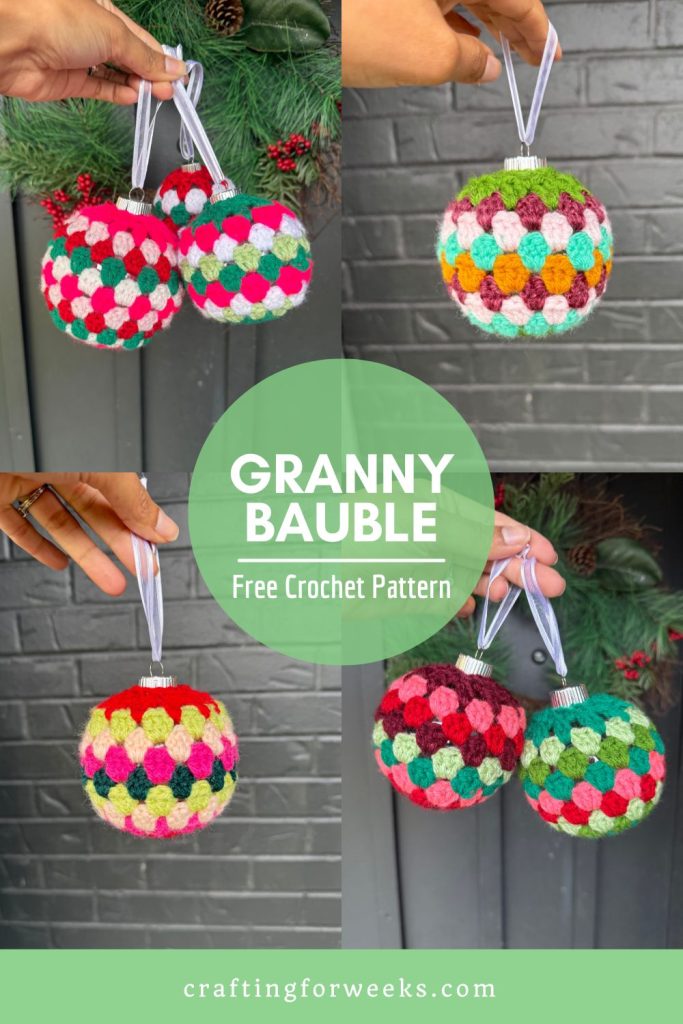
The Granny Stitch Ornament is written for 3 sizes of ball ornament: 2.36″, 3.15″, and 3.95″. This ornament uses worsted weight yarn and is filled with a ball ornament before closing. There is a color change each row that uses roughly 3-4 yards of yarn per color, with a bit extra for your top and bottom color. To avoid weaving in tons of ends, you will be strategically crocheting over certain ends, allowing you to tie a knot and trim ends that will be hidden on the inside of your finished ornament.
Love it?! Pin it for Later!
About the Yarn
For this pattern, I used a variety of worsted weight yarn scraps. This included I Love This Yarn, Lion Brand Basic Stitch, Big Twist, and probably many more. You will need a few yards per color, so this is the perfect project for those of you that collect all the little leftover bits like I do.
If you’re hoping to substitute for a different weight, you will likely need new stitch counts. The size of this ornament is primarily adjusted by the number of starting stitches in your magic circle. If you’re savvy with estimating sizes, you could definitely adjust your starting stitch count to accommodate different yarn weights.
Filling your Ornament
For this project, I used craft ball ornaments from Hobby Lobby. I chose these because they’re clear so I could use any color yarn and it would match. Additionally they were available in multiple sizes (2.36″, 3.15″ and 3.95″). You can use a craft ornament like this or really any other ball ornament that is similar sized.
If you do not have a ball ornament to fill with, you can also use a styrofoam ball or polyester stuffing in a nylon. If going with alternate filling route rather than an ornament with a topper already attached, just be aware that you’ll need to add an ornament hook or thread some yarn through your piece to hang it from.

Choosing your Colors
Choosing colors for a striping project can feel daunting sometimes. One way to I kept my ornaments fun and interesting was typing in Christmas color palettes on Pinterest. This gave me a wide range of wintery color palettes that explored more than just red and green. However, some of my favorite color combinations came from just being playful with color.
PDF Perks…
Whenever there’s color planning involved, I will often include a coloring sheet in my PDF pattern. And I did that again with this pattern. I created a coloring page that includes a sketch of each ornament size so you can get creative on paper before jumping into your project.
You Might Also Like…
Check out some of my other seasonal patterns…


Let’s Get Started…
Materials Needed
25-45 yds of Assorted colors of Worsted Weight yarn
Plain ball ornament in 2.36”, 3.15”, or 3.94” size
Size H (5.0mm) crochet hook
Tapestry needle
Scissors
Ribbon (optional)
Stitches Used
MC – Magic Circle
Ch – Chain
Sl st – Slip Stitch
Dc – Double Crochet
Dc Inc – Double Crochet Increase
Dc Dec – Double Crochet Dec
Skill Level
Experienced Beginner
Gauge
Gauge is not essential to this pattern. Note: if your piece is too tight for the ball, go up one hook size.
Ornament Sizes
Small = 2.36” diameter
Medium = 3.15” diameter
Large = 3.94” diameter
Note: If you cannot find ball ornaments these sizes, make the size closest to your ball diameter and increase hook size for slightly larger/decrease hook size for slightly smaller.
Notes
- This pattern is worked in rounds and joined at the end of each round.
- The stitch counts for the different ornaments sizes are written as (Small, Medium, Large).
- Main color in this pattern indicates the color used for the top and bottom of the ornament in the increase and decrease sections.
- I recommend acrylic yarn for this project as it has more stretch and will be more forgiving with gauge and ornament ball sizes.
Special Stitches/Techniques
Double Crochet Increase: Work two double crochet stitches in the same stitch from the previous round.
Double Crochet Decrease: Yarn over, insert hook into stitch, and pull up a loop, Yarn over and pull through two loops on hook. Yarn over, insert hook into next stitch, and pull up a loop. Yarn over and pull through two loops on hook. Yarn over and pull through all loops on hook.
Double Crochet cluster: Yarn over, insert hook into stitch, and pull up a loop. Yarn over and pull through two loops on hook. Yarn over, insert hook into same stitch, and pull up a loop. Yarn over and pull through two loops on hook. Yarn over and pull through all loops on hook.
Pattern
Increase Section
Using 5.0mm (H) hook and main color. MC with yarn.
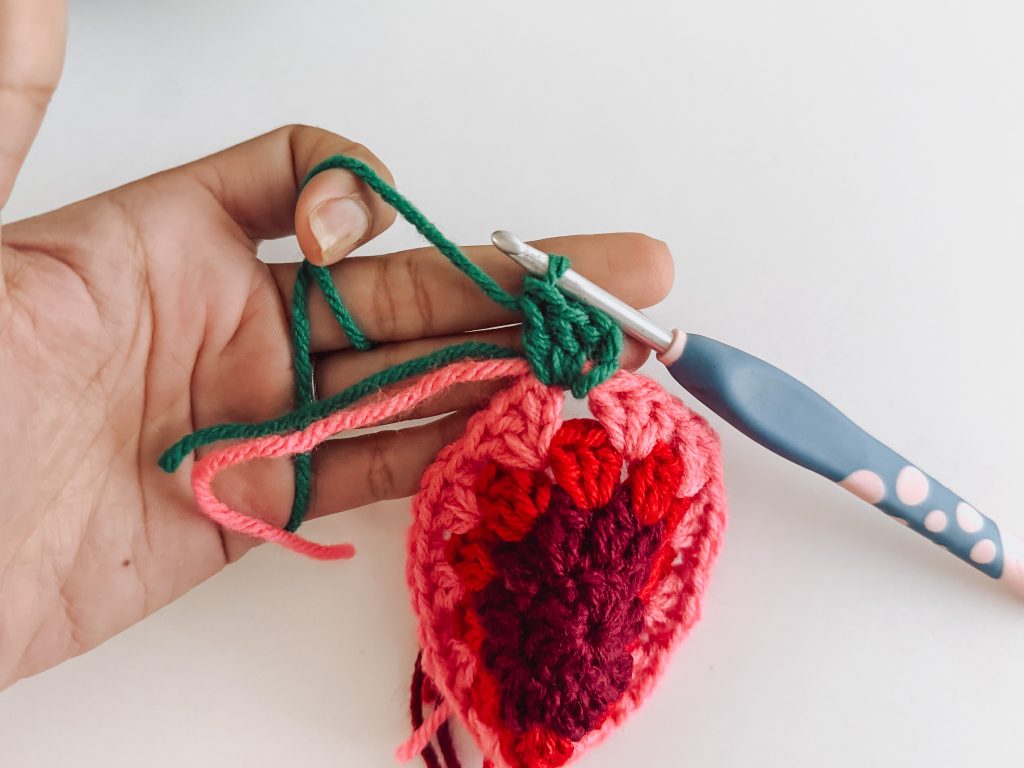
Round 1: With main color, dc (8,10,12) into MC. Tighten MC and join with sl st to first dc. (8,10,12)
Round 2: Ch 2. Dc in same stitch (ch 2 and dc count as first cluster). Ch 1. *Dc cluster in next stitch, ch 1.* Repeat from * to * in each stitch around. Join with sl st to first dc. Cut yarn leaving short tail. (16, 20, 24)
Color Change Section
Round 3: Attach next color in the last ch space of the previous round. Ch 3 (counts as first dc). Working over the tail from attaching new color, dc 2 in same ch space. *Dc 3 in next ch space.* Repeat from * to * around. Join with sl st to third ch of the starting ch 3.Cut yarn leaving short tail. (24, 28, 32)
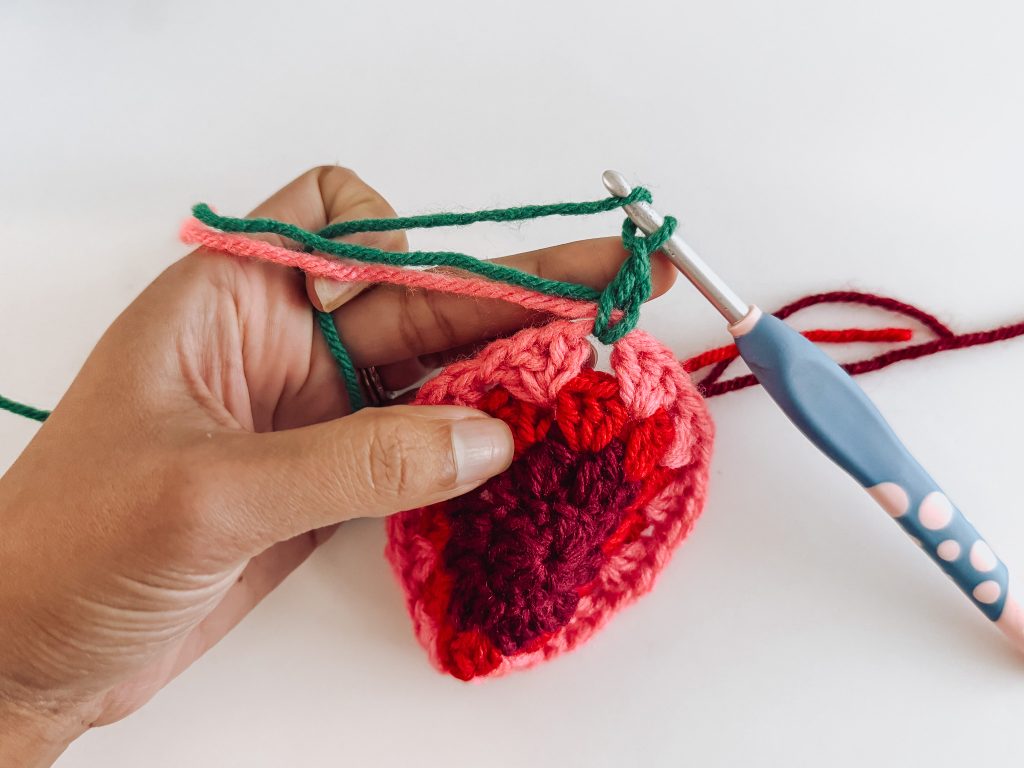

Round 4: Attach next color in the last space between dc groups of the previous round. Ch 3 (counts as first dc). Working over the tail from attaching new color, dc 2 in same ch space. *Dc 3 in next ch space.* Repeat from * to * around. Join with sl st to third ch of the starting ch 3.Cut yarn leaving short tail. (24, 28, 32)
Repeat Round 4 (3,5,7) more times for a total for of (5,7,9) rows of color changes.
Decrease Section
Round (8,10,12): Attach main color in the last space between dc groups of the previous round. Ch 2. Dc in same space. *Dc cluster in next space, ch 1.* Repeat from * to * in each space around. Join with sl st to first dc. (16, 20, 24)
Turn work inside out. Using the beginning and ending tail of each color, tie a knot behind the matching cluster of stitches. Trim the ends short enough that they can be hidden behind the clusters.

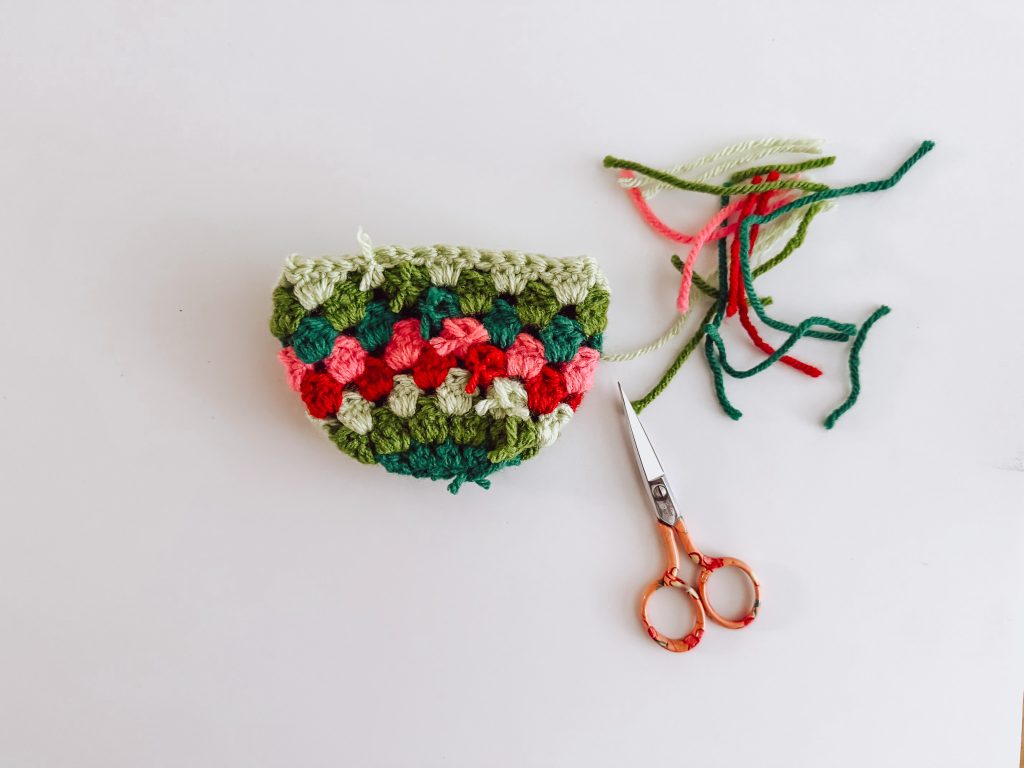
Weave in tail from Round (8,10,12). Turn work right side out.
Insert ball ornament and continue to last round. Note: It may be helpful to finish the last join of Round (8,10,12) after inserting the ornament.
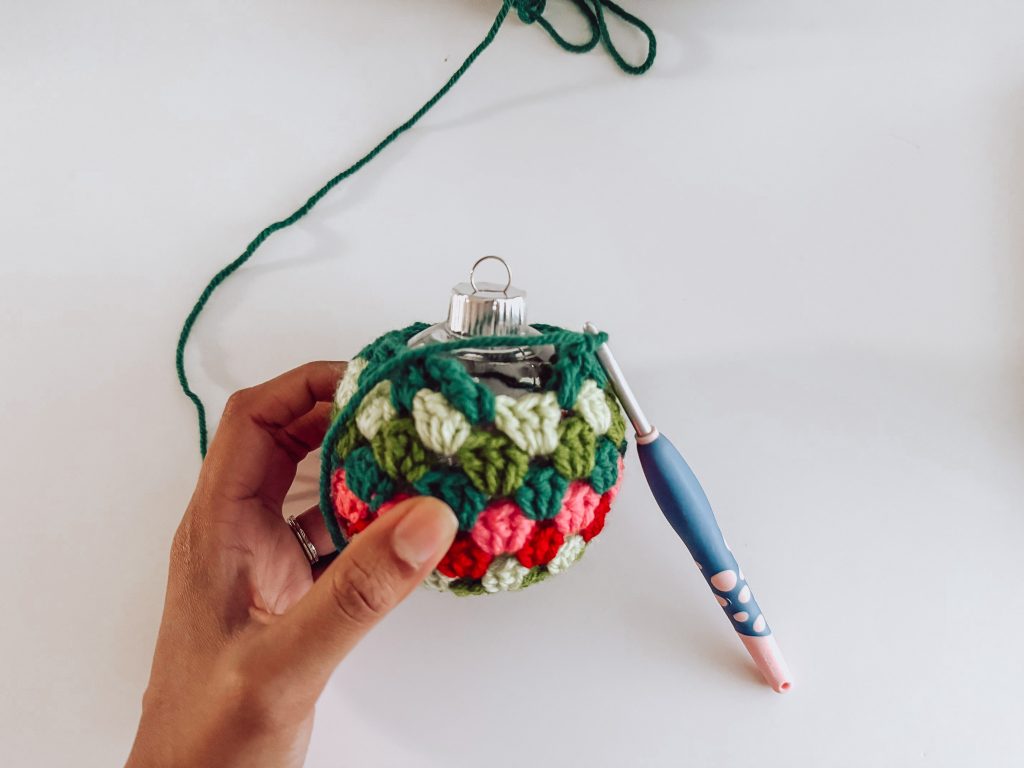
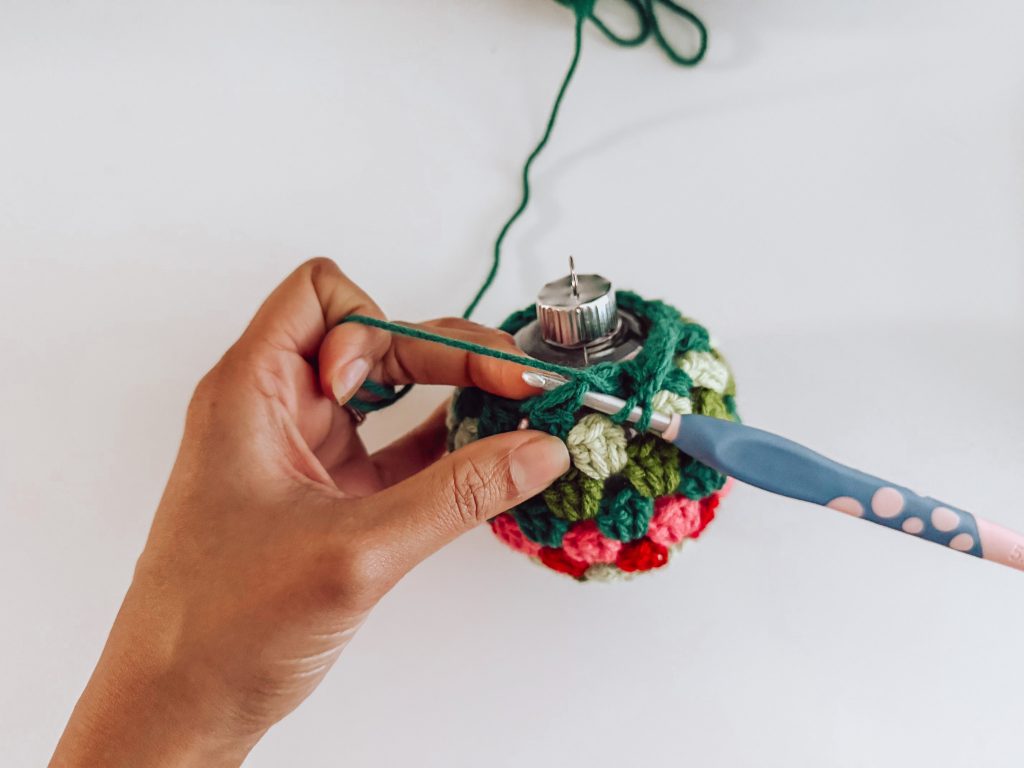
Round (9,11,13): Ch 2. Dc dec around.Sl (8, 10,12)
Cut yarn leaving a long tail for closing. With a tapestry needle, weave long tail under the front loop of each stitch around. Pull tail to cinch around the ornament topper. Weave in tail. Optional: Attach a ribbon to hang the ornament ball from.
Final Thoughts
These bauble ornaments are so fun to make and the color possibilities are endless. Be sure to tag me in your finished makes! I love to see what you all create from my patterns. You can tag me @craftingforweeks on Facebook or on Instagram. And use the hashtag #grannystitchornament for a chance to be featured!
Until next time, Happy Crafting!