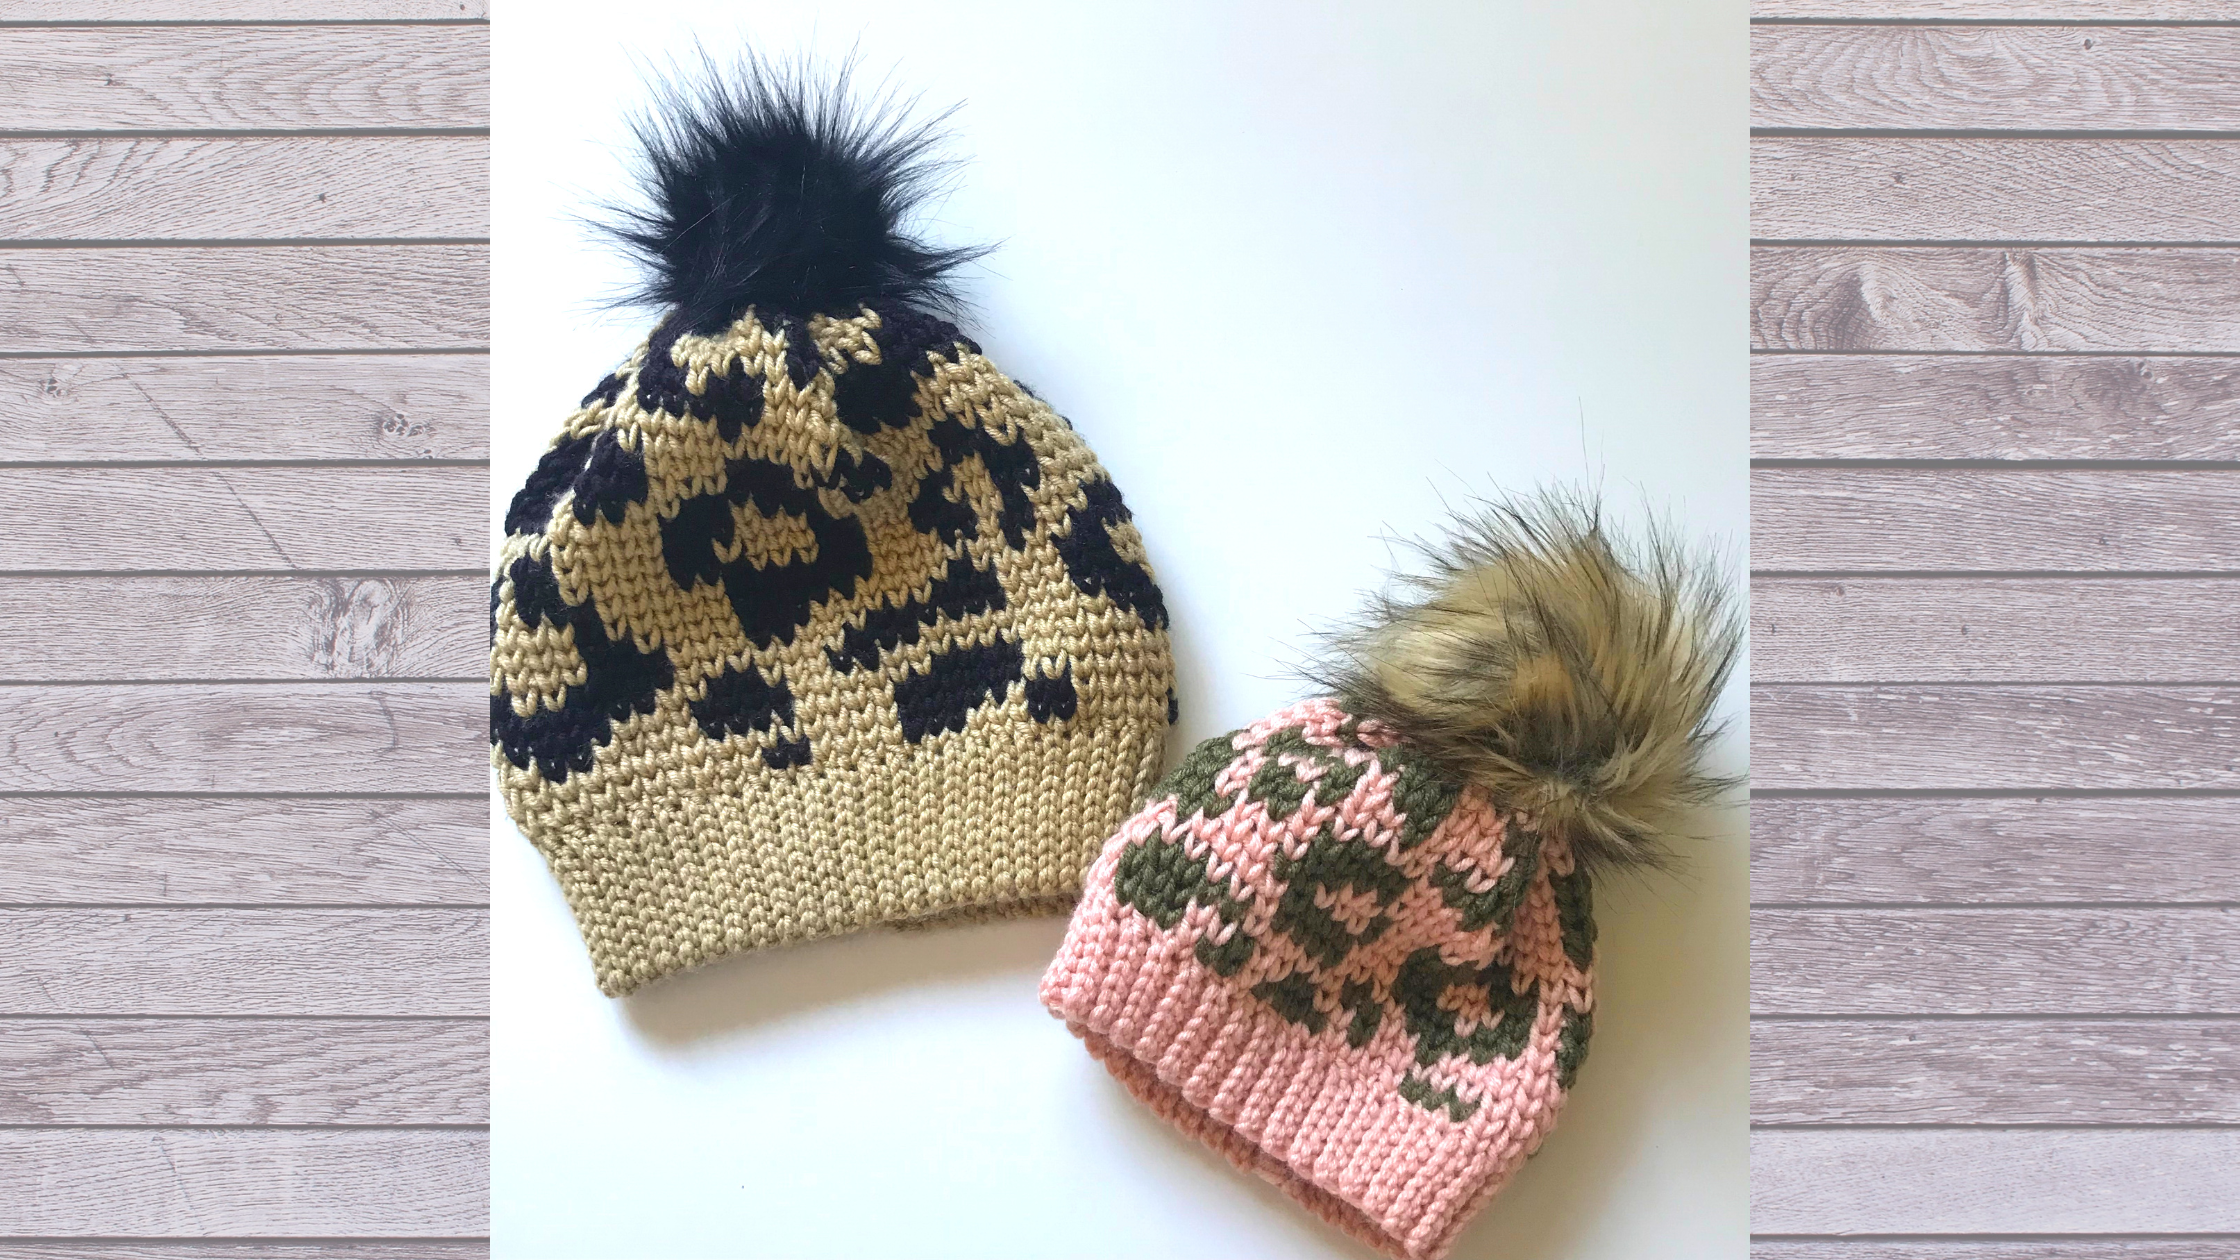
Crochet a Bulky Leopard Print Beanie
I’m so excited to offer this fabulous beanie pattern. I’ve been working on some version of a leopard print beanie for quite awhile now, and I’ve finally created a hat that I’m proud of. Not only is this beanie full of leopard-y fun, but it also works up fairly quickly. I’m going to do my best to walk you through some of the techniques used, and then set you on your way with the original Luxe Leopard Beanie.

**This site contains affiliate links to products. I may receive a commission for purchases made through these links. This is a great way to support my small business AND get the supplies you need for your project!**
About the Pattern
As I said before, I’ve been working on the Luxe Leopard beanie for quite some time. One of the first crochet techniques that I learned was tapestry, and I’ve loved it ever since. However, I struggled with tension and complexity of creating leopard print. I wasn’t sure that anyone would even want to make this hat. So I put it away for a few weeks (or sometimes months) and I’d get it back out when I had a bit of inspiration of a new approach.
In the meantime, I tested several patterns for other designers. Somehow the combinations of those tests, and the skills I learned along the way, finally got something to click, I suppose.
My goal this time around was to design something that worked up quickly enough for makers to add them to their markets. And I wanted it to be simple enough to be approachable for someone who is fairly new to crochet color work. This hat works up fairly quickly (most of my testers were done in two sittings) and just uses a variation of single crochet.
About the Yarn
I used Lion Brand Color Made Easy for this version of the Luxe Leopard Beanie. This is one of my favorite bulky yarns to work with. As you might know, Bulky 5 Category yarn can vary quite a bit. Here are few (but not all the possible) yarn recommendations that my testers tried out: Lion Brand WoolSpun, Red Heart Soft Essentials, Red Heart Hygge, Yarn Bee Soft & Sleek Bulky, Yarn Bee Wildstreak (4), Lion Brand Landscapes (4), DK weight yarn Double-Stranded.
Another yarn that I recently tried for the Luxe Leopard Stocking was Brava Bulky from WeCrochet. This yarn is a pretty close match in size to the Color Made Easy and comes in a wide variety of solid colors.
Purchasing the Pattern
This pattern is available for purchase is two versions. One is the adult version. This is a concise, ad-free version of what you are seeing here today on my blog. It has a photo-tutorial included, as well as additional chart rows so that you can customize the length of your beanie. You can purchase the adult version in my Etsy or Ravelry shop.
The second version is the full version of the pattern with extended sizing. It comes in Newborn up to Adult sizes. This version also has a photo tutorial as well as two charts, each with additional rows. You can purchase the full version with extended sizing in my Etsy or Ravelry shop as well.
The Luxe Leopard Collection
Since the release of the Luxe Leopard Beanie in bulky weight, the Luxe Leopard Collection has grown! Many of these patterns are now free on the blog or will be coming to the blog this fall. Here’s a few links to check out some of the other free patterns!
Make the lighter weight version of this amazing beanie with the Luxe Leopard Beanie – Worsted!
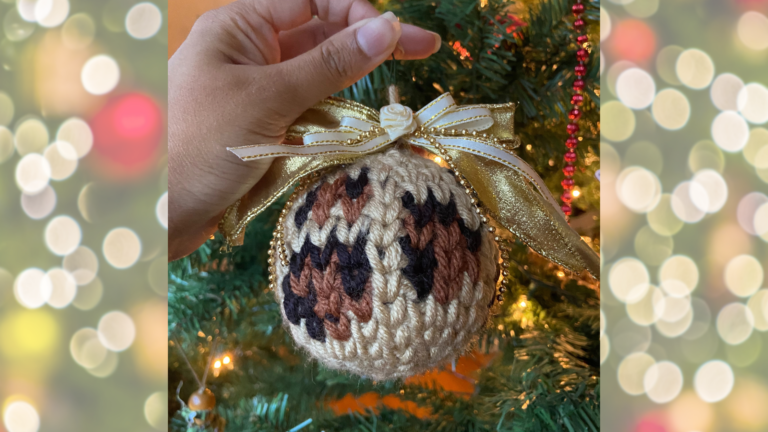
Prep for Christmas presents with the stunning Luxe Leopard Stocking!
Put a fun twist on your fall decor with the Luxe Leopard Pumpkin!
Stay warm with the wild, ear warmer…the Luxe Leopard Headband.
Special Techniques
Reading a Graph
This pattern use a chart to direct color changes. To read the chart, you will begin in Row 1, Column 1 in the bottom, right corner. White boxes will represent your main color and black boxes will represent your contrasting color. You will complete one stitch in the corresponding color per box. In the stitch before a color change, you will need to switch your yarn color. When you reach the end of your row, you will return to Column 1 and begin working the next row. (Note: If you are left-handed and working counter-clockwise, start on the bottom left corner of the chart work across, returning to the left side at the end of each row.)
Carrying Yarn
This hat uses tapestry crochet and carries both colors of yarn along as you work. You can carry the yarn behind the stitches and wrap the color you’re using around the carried yarn. To do this, you will loosely hold the unused yarn behind the stitches and wrap your working stitches around the carried yarn. You can carry the yarn unused yarn until you need to change colors. Bethany from Whistle and Ivy had a great video tutorial for this tapestry, color changing, and reading a graph if you need a little help.

Changing Colors
You will need to know how to change colors to complete this pattern. To change colors, you will complete a single crochet as follow: With first color, insert hook in stitch, yarn over, pull up a loop, then with second color, yarn over and pull through both loops on hook. Continue working with second color.

Waistcoat Stitch
The waistcoat stitch is a fun little stitch that mimics the look of knitting. This stitch is a single crochet stitch that is worked between the V-shape posts of the stitch below. Doing this creates a knit-look and allows the stitches to stack on top one another. To do this stitch, insert your hook between the posts of the stitch below and complete a single crochet as normal. If you’re a video type of person, Jess from Make and Do Crew has an excellent video for this one. The key to this stitch is the keep your tension loose! If you’re having trouble with tight stitches, try going up to an 8mm hook.

Love it? Pin It for Later!

Materials Needed
2 Skeins of Color Made Easy (or comparable bulky 5 yarn)
-50-170 yds of main color
-20-85 yds of contrasting color
Size K (6.5mm) hook
Size L (8.0mm) hook (optional, see waistcoat stitch notes)
Tapestry needle
Scissors
Pom Maker or Faux fur pom (optional)
Skill Level
Intermediate
Gauge
11 SC stitches x 14 rows = 4” square
Pattern for Gauge: Ch 28, Sl st to join. Sc in each stitch around. Using waistcoat stitch and working in a continuous round, sc in each stitch around until work is large enough to measure.
Finished Measurements
Baby: Width 7”, Height 6.5”
Toddler: Width 7.5”, Height 7”
Child: Width 9”, Height 8.5”
Teen/Adult: Width 10.5”, Height 10”
Notes
- This hat is worked in a continuous round. You may want to mark the first stitch of each round with a stitch marker.
- There are two charts available and they are based on size. Be sure to use the corresponding chart for each size.
- An important key to using waistcoat stitch is loose tension. If you’re struggling with tight tension or tend to crochet tightly, I recommend increasing to an 8mm hook to loosen the stitches.
- Waistcoat stitch can be substituted for regular single crochet in the back loops only in this pattern. It will still be necessary to maintain loose tension.
- This pattern is written for two-tone leopard print pattern. It can be made into tricolor leopard pattern by adding a third color in the center squares of each leopard spot. If you choose to use three colors, be aware that carrying a third color can effect the tension, density of the fabric, and overall stretch of the hat.
- Sizes are written as follows (Baby, Toddler, Child, Teen/Adult)
PATTERN
(Baby, Toddler, Child, Adult)
BRIM
Using Main Color.
Row 1: Ch (7,7,9,11). Sl St in 2nd chain from hook and in each chain across. (6,6,8,10)
Row 2: Ch 1 and turn. Sl St in BLO of first stitch and each stitch across. (10)
Repeat Row 2 until band measures approximately (11”,12”,14”,15”) unstretched. (6,6,8,10)
Holding ends together, sl st in each stitch across both pieces to close band. Do not break yarn. Turn band so slip stitches are facing inward and working yarn is on top.
HAT
Foundation Row: Ch 1. Using loose tension, Sc (41,44,53,56) evenly around the top of the brim.
Round 1 – (15,16,22,25) Using Waistcoat stitch and working in a continuous round, SC around following color changes according to corresponding graph. (Note: You may want to use a stitch marker to mark the beginning of each round.)
Using Main color and continuing in Waistcoat stitch. (Note: For Baby & Toddler sizes, skip to Decreasing Round 2.)
Decreasing Round 1: Sc 2, Sc2Tog around. Sc in any remaining stitches.
Decreasing Round 2: Sc, Sc2Tog around. Sc in any remaining stitches. Tie off leaving long tail.
Baby & Toddler Chart

Child & Adult Chart

ASSEMBLY
1) Using a tapestry needle, weave the long tail in and out of the top row of stitches approx. every 3-5 stitches.
2) When you have gone all the way around the top of the hat, pull the tail tight, cinching the top of the hat closed.
3) Turn hat inside out, then tie off and weave the ends.
4) Optional: Attach Faux fur or yarn pom to top of hat.
Final Thoughts
I really hope you enjoy this pattern, and I can’t wait to see all the fun color combos and gorgeous hats that come from it. Seeing all your makes is one of my favorite things. Be sure to tag me on Instagram @craftingforweeks for a chance to be featured! And be sure to use the hashtag #LuxeLeopardBeanie as well.
Until next time, Happy Crafting!
Kelsie


It’s a cute leopard beanie.