

Pom Tassels 2.0
So it’s been awhile, since I’ve posted anything pom related. Since posting on DIY Purse Pom Tassel awhile back, I have been busy making and selling custom poms and tassels. I started out slow on Facebook, and moved over to Etsy. If you tried out my last tutorial, you’ll know that wrapping poms can take some time, and trimming them is kinda the worst. As we approach baby girl’s due date, I’ve decided to slow down the pom side of my shop and reduce the number of custom orders I’ve been taking. But that’s the perfect time for an updated tutorial, so you can learn to make your own!
I often joke with my husband that I have a love/hate relationship with making poms. I love that they’re a fun way to use yarn and mix colors, plus its fun to see a great bag/pom combo. Seems like every time I swear that I’m done, I come up with some new idea that I just have to try. I’ve even got a few rolling around in my head even now, that I’ve been wanting to test out and post video tutorials of, so be on the lookout for those sometime in October. When I started out, I was just making basic two color poms with an attached tassel. Cute, but it’s been done. So then, I found a Youtube tutorial for how to make poms with hearts in the center, so of course, Valentines Day poms were a thing.

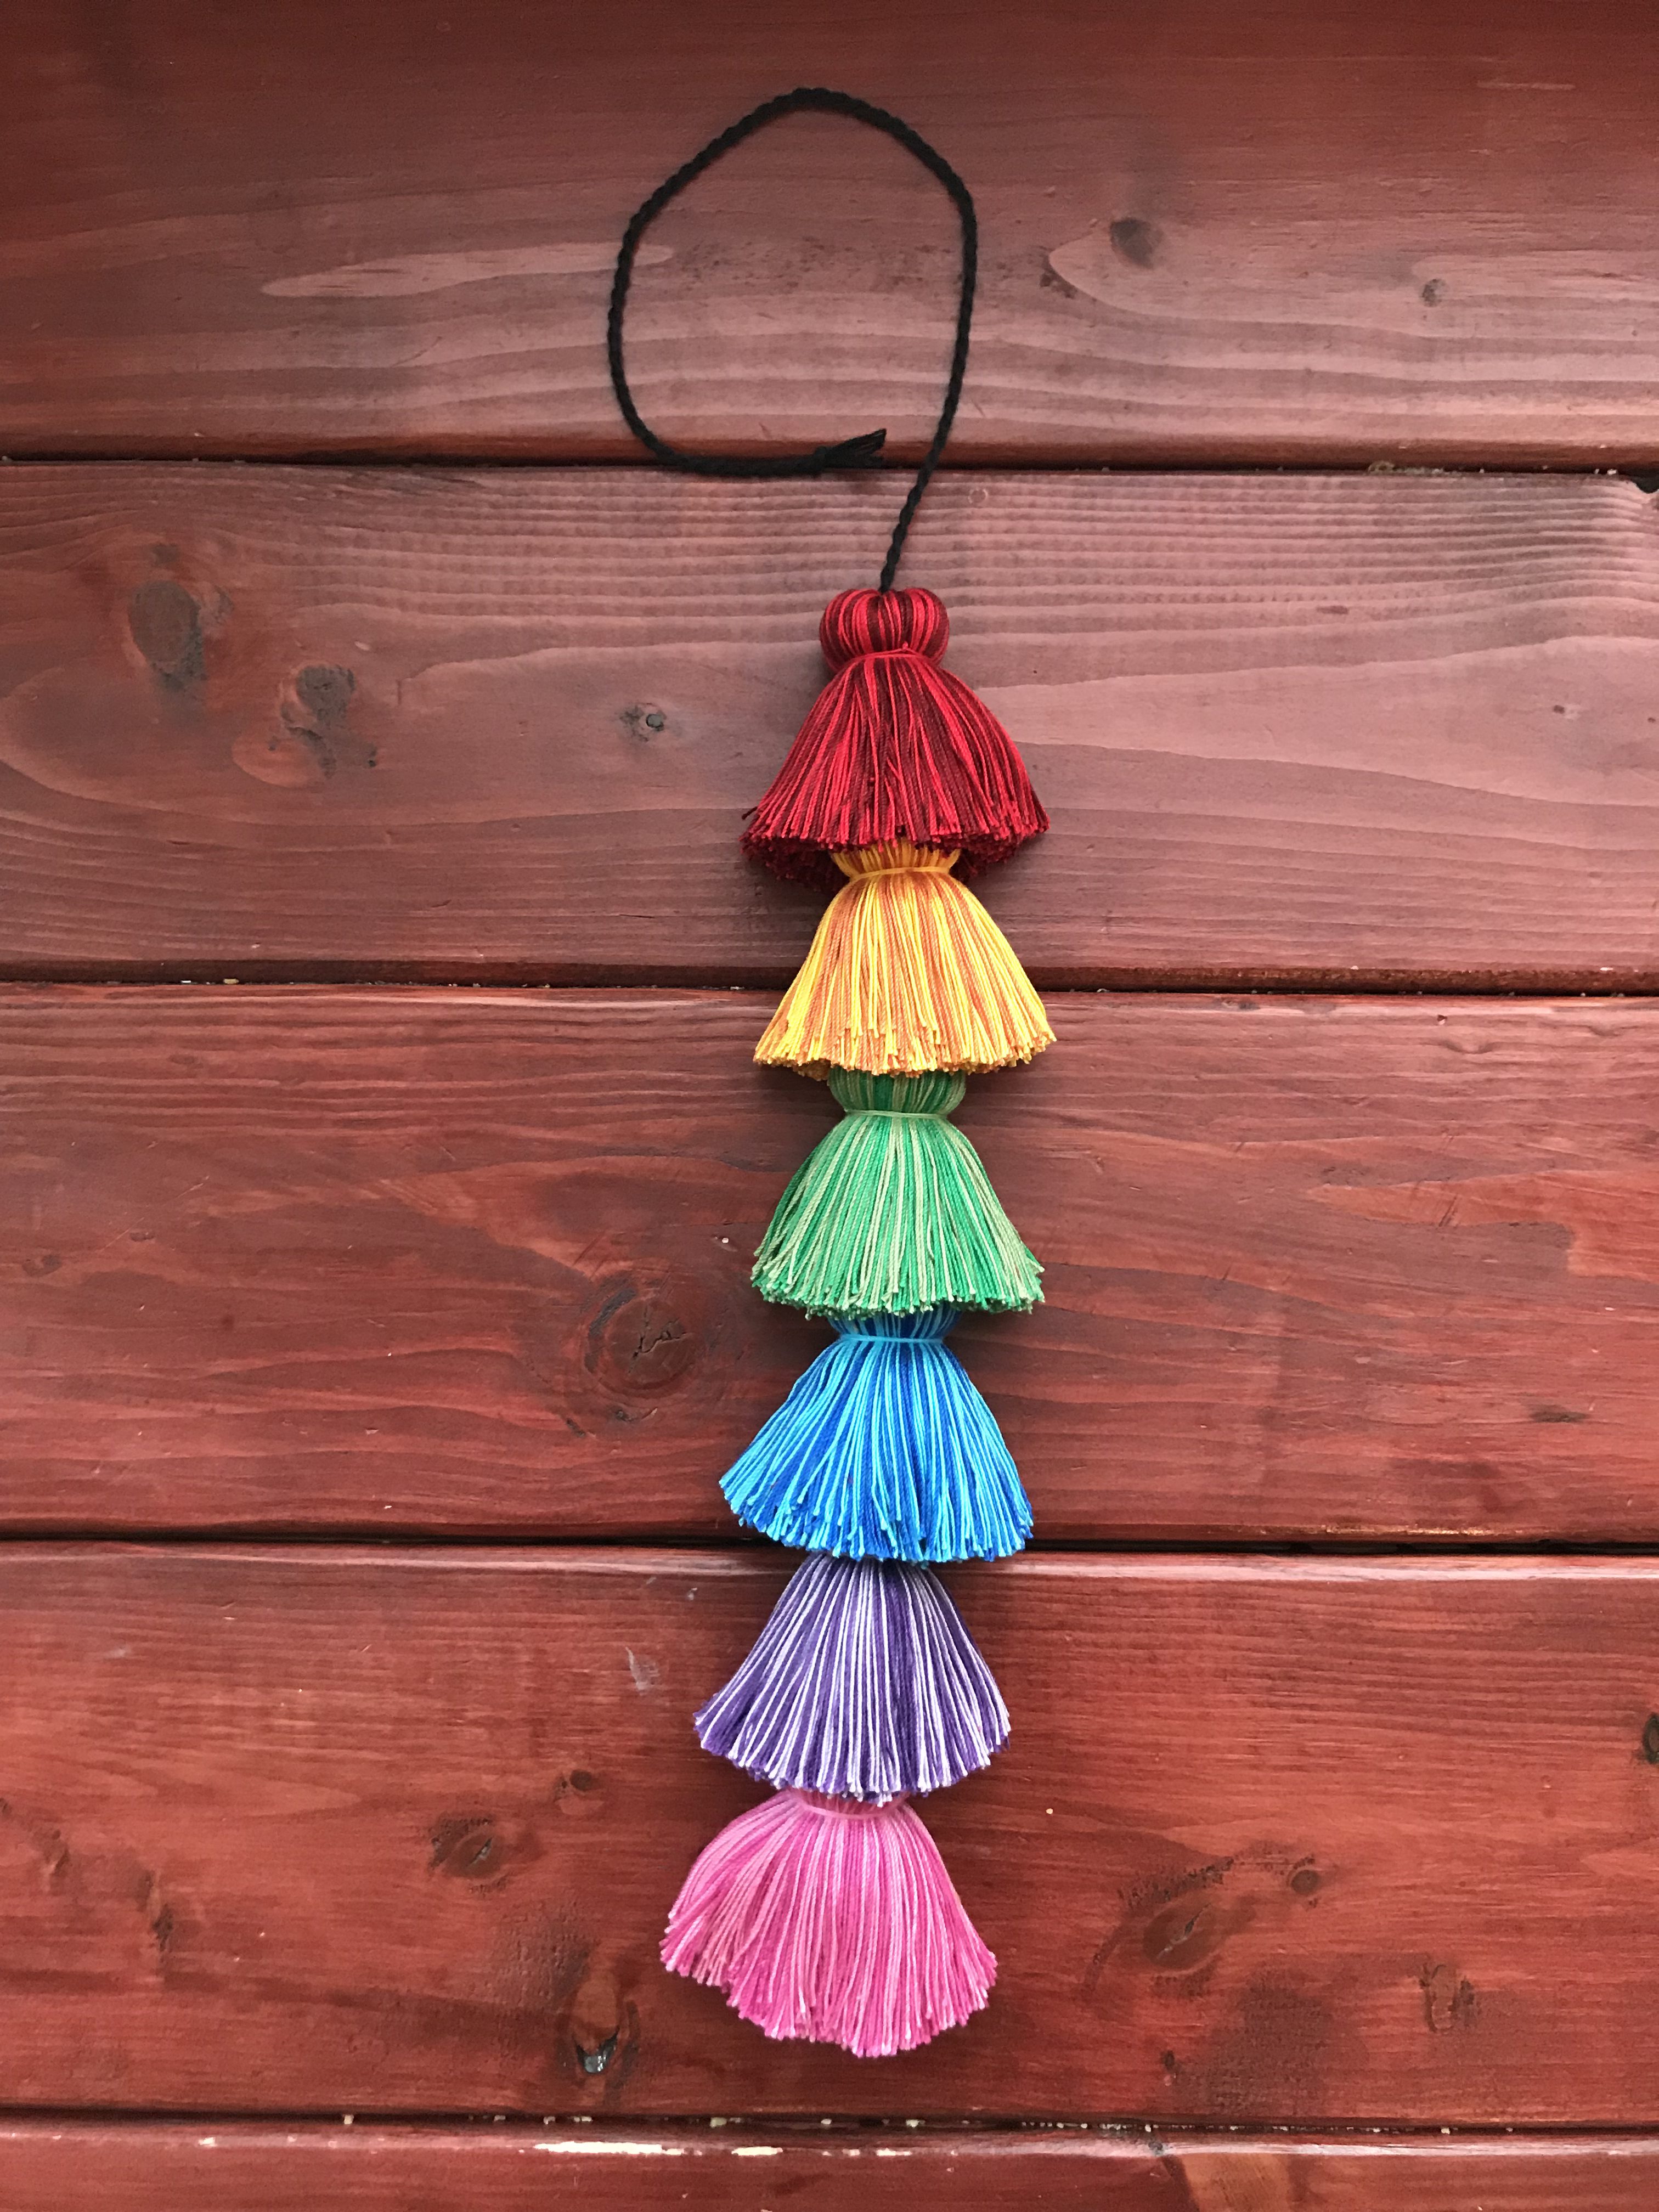
After trying out the heart poms, I was inspired to try some other things. For example, a rainbow pom and a gradient pom.


I think my all time favorite thus far has to be the leopard print pom though. I have these on my calendar to film how to make these. So definitely keep an eye out over the next few weeks.

I also have been making fan tassels. Also love/hate those for the same reason. But I mean look at this combo, you can’t stay mad at it for too long. You can find a photo tutorial for these here!
Anyhow, I decided its about time to do an update of my last tutorial. In my last tutorial, I showed you how to make the tassels without using a tassel maker. You just used DVD case instead. However, I figured I’d do an update showing you how make the pom tassels with an actual tassel maker. Then you all will be too legit to quit.
So first off, you’ll wrap your pom on a pom maker. I use the Clover pom maker tool to make my poms. If you need a refresher on how to do that or you want to see what type of yarn I use, check out my previous post here. Just a little tip, if you’re wanting the wrapping process to go a bit faster, try picking up two skeins of yarn and pull from them both at the same time. It cuts your pom wrapping time in half. If you opt to double-skein it up, I recommend pulling from the center of the skein versus the outside so they don’t get tangled as you wrap.
Then you’ll get to work on that tassel. I using the Large Clover tassel maker and size 10 cotton crochet thread for this pom tassel. There are a variety of materials you can use ranging from silk thread to acrylic yarn. What materials you use for the tassel will dictate how it hangs. I find that the cotton does get a little “wrinkly” with time, but its easily smoothed out with a comb and a little spritz of water.
(This site contains affiliate links to products. I may receive a commission for purchases made through these links. I will only link products that I personally recommend. )
For this tutorial you’ll need:
A large wrapped pom still on a pom maker (see here for tutorial)
Size 10 Crochet thread (or other material for tassel)
Clover tassel maker (large)
Sharp scissors
Tapestry needle
Small comb

So for a large pom tassel, you’ll unscrew the little knobs on the sides and extend the tassel maker to its largest setting. Then you tighten those little knobs back down.


Next, while holding one end tight to get started, you’ll begin wrapping the thread around the tassel maker. I try to wrap pretty evenly across the tassel maker, and I count as I go to keep my poms consistent.

So for large poms, I wrap across 100 times, then I double back for another 100. I do this 3 and a half times, so a total of 350 wraps. Because I was making these for customers, I did count my wraps so my product would be consistent, but its definitely not a necessary step if you’d rather approximate. Also, this is just how many times I wrap with cotton size 10 crochet thread. If you use acrylic crochet thread, I find you need a little less, and of course with a different material, such as yarn perhaps, your wrap count will vary depending on your yarn thickness. However many times you choose to wrap the tassel, just bear in mind that you will be folding your work in half.

Once you’ve finished wrapping the thread, cut then end. You will then need a piece of the same thread about 18 inches long. You will take this piece and loop it through the center of the tassel maker and tie it around your wrapped thread. I like to tie half a square knot, then flip it over and tie half a square knot on the opposite side. I actually do this four times before I finished my square knot. I find that tying it off this way allows me to gradually tighten the thread without breaking it.


So once you have it tied off in the center, you will take you very sharp scissors, and cut across the top of the tassel maker. I like to hold the center of the tassel in place to get a nice straight cut.

You will then flip it over, realign the center of the tassel with the center of the tassel maker, and cut along the bottom.
Now you have this.

From here you’ll grab the ends of the thread that you used to tie the center and hold them up. Gravity will do the rest. You will probably want to groom your tassel with a small comb at this point and tame any stragglers.
Then you will need another piece of matching crochet thread approximately 18 inches long. Grabbing your tassel by the center threads you tied, lay your tassel on top of it of the 18″ piece. It will need to be approximately an inch from the top and in the center of the thread. Carefully tie a half square knot around the top portion of the tassel. You may have to adjust your placement of the thread slightly depending on the shape you want your tassel to have. I then flip it over and tie another half square knot on the opposite side of the tassel, and again one more time before finishing my square knot.

At this point, you’ll take your tapestry needle and thread the ends of your thread down into the center of the tassel. You’ll do this with both the top threads and the ones around the tassel itself. When you’re finished you should have something like this.


Now, you’ve got your pom ready to attach a tassel to. You want it to still be on the pom maker at this point. I tie my poms off with crochet thread that matches my tassels, making sure that I have plenty of leftover thread to attach the tassels on with.

So first I tie on the cord that my pom tassel with hang from. (Basically it is a few lengths of whatever I made my tassel from folded in half. I will twist this together once the pom is done.) I tie a half square knot around the center of the cord, making sure its in the center of the top of the pom, and tighten it so it kinda disappears into the pom maker a bit.
Then I flip the pom maker over and using a tapestry needle, I thread the ends through the top of my tassel. Each thread goes through the top loop that is created by the thread we tied at the center of the tassel before we cut it. Put them through going opposite directions, so then you can tie another half square knot which will attach the tassel to the pom. Again, make sure your tassel is centered.


Finally, take your thread and tie a full square knot in the center of your cord along the top. You’ll want to make sure that your tassel is tightly in place before you do this. (Pro tip: I actually open the bottom half of the pom maker at this point to ensure the tassel is tight against the pom)

I then tie a few extra knots, just to make sure its secure and then I cut the thread. It will kinda disappear into your pom once you remove the pom maker, which is what you’ll do next. Once the pom maker is removed, simply twist or brain the top cords.
The final step, of course, is to trim your pom into a nice round shape and your tassel so its even across the bottom. You should end up with something like this.

So there you have it, a pom tassel using a tassel maker. Again, keep an eye out in the next couple weeks for videos on how to make some of the specialty poms. While they’re adorable purse accessories, they’d also be perfect to top some winter hats.
Until then, Happy Crafting!
Kelsie


